Chicken And Vegetable Alfredo

Ingredients:

  • 6 oz uncooked linguine
  • 2 cups fresh broccoli florets
  • 2 cups thinly sliced carrots
  • 2 tbsp butter or margarine
  • 1/2 cup chopped onion
  • 1 tbsp/clove minced garlic
  • 3 tbsp all purpose flour
  • 2 tsp chicken flavored bouillon
  • 1/4 tsp pepper
  • 2 cups skim milk
  • 1 1/2 cups cooked chicken (cubed)
  • 1 8 oz container Sour cream
  • 1/3 cup grated Parmesan cheese
  • Optional
  • 1/4 cup sliced ripe olives
  • Salt to taste (There is a lot of salt in the bouillon so discretion is advised)

Directions:

  1. Cook Linguine to desired done-ness as directed by the packaging
  2. In a medium saucepan, bring 4 cups water to a boil. Add in carrots
    and broccoli and bring back to a boil, cooking between 5 mins or until crisp-
    tender. Drain well in a colander.
  3. Melt margarine or butter into a large nonstick saucepan or dutch oven
    over medium heat.
  4. Add onions and garlic, cook until the onions are tender
  5. stir in flour, bouillon, salt (if needed,) and pepper. Gradually stir in
    milk, cook until mixture boils and thickens, stirring constantly.
  6. Add back in the broccoli and carrots, add chicken, sour cream and 1/4 c
    Parmesan cheese.
  7. Cook until thoroughly heated, DO NOT BOIL
  8. Drain Linguine. Add to the veggies, tossing to mix. Sprinkle with remaining
    Parmesan cheese and garnish with olives if desired.

Creamy Shrimp dip

I grew up in a house that loved shrimp. Even our cat loved it and would cry out for it every time we had some out. This dip is cool and creamy, and is perfect for those that want to enjoy something a little bit different with their veggies. Another perfect dip for games and holidays, especially during the summer.

Ingredients:

  • 1 (8 oz) pkg 1/3-less-fat cream cheese, softened. (Also called Neufchâtel)
  • 3-4 tbsp skim milk
  • 1 tsp salt free lemon-herb seasoning
  • 1 (4 1/2 oz) can tiny shrimp, drained
  • 1 tbsp sliced green onions
  • 1 tbsp chopped green bell pepper


Directions:

  1. In a small bowl, combine cream cheese, milk and lemon-herb seasoning, beat until smooth.
  2. Add shrimp, onions and bell pepper; Mix well and refrigerate until serving time.

Creamy Chicken and Pasta Soup

Nothing tastes quite as good as chicken soup, especially if it’s homemade. Less salt and other ingredients that you probably can’t pronounce in it that way. I don’t know, its just tastier without the can in the middle in my own opinion. This soup is hearty and filling, has a prep time of only 20 mins and yields 6 1 1/2 cup servings.


Ingredients:

  • 2  cans (14 1/2 oz) ready to serve fat-free, low sodium chicken broth
  • 5 1/4 oz (2 C) uncooked medium shell pasta
  • 3 boneless, skinless chicken breast halves, cut into 1/2-in cubes
  • 4 cups sim milk
  • 1 C frozen sweet peas
  • 1/2 C all purpose flour
  • 1 (2 oz) jar chopped pimentos, drained
  • 1/2 to 3/4 tsp dried basil leaves
  • dash of white pepper


Directions:

  1. In a non-stick dutch oven, Bring brother to a boil, add pasta and chicken. Reduce the heat, cover, and simmer 9-11 mins or until pasta is of desired doneness.
  2. In a small bowl or jar with a tight fitting lid, combine 1 C of the milk, and the flour, beat with a wire whisk or shake until well blended
  3. Add flour mixture and remaining milk and other ingredients to the broth mixture.
  4. Cook and stir over medium heat until the soup is bubbly and thickened, and the chicken is no longer pink.
  5. You can add salt to taste if desired.

Chocolate-mint Frosty

chocomintfrosty
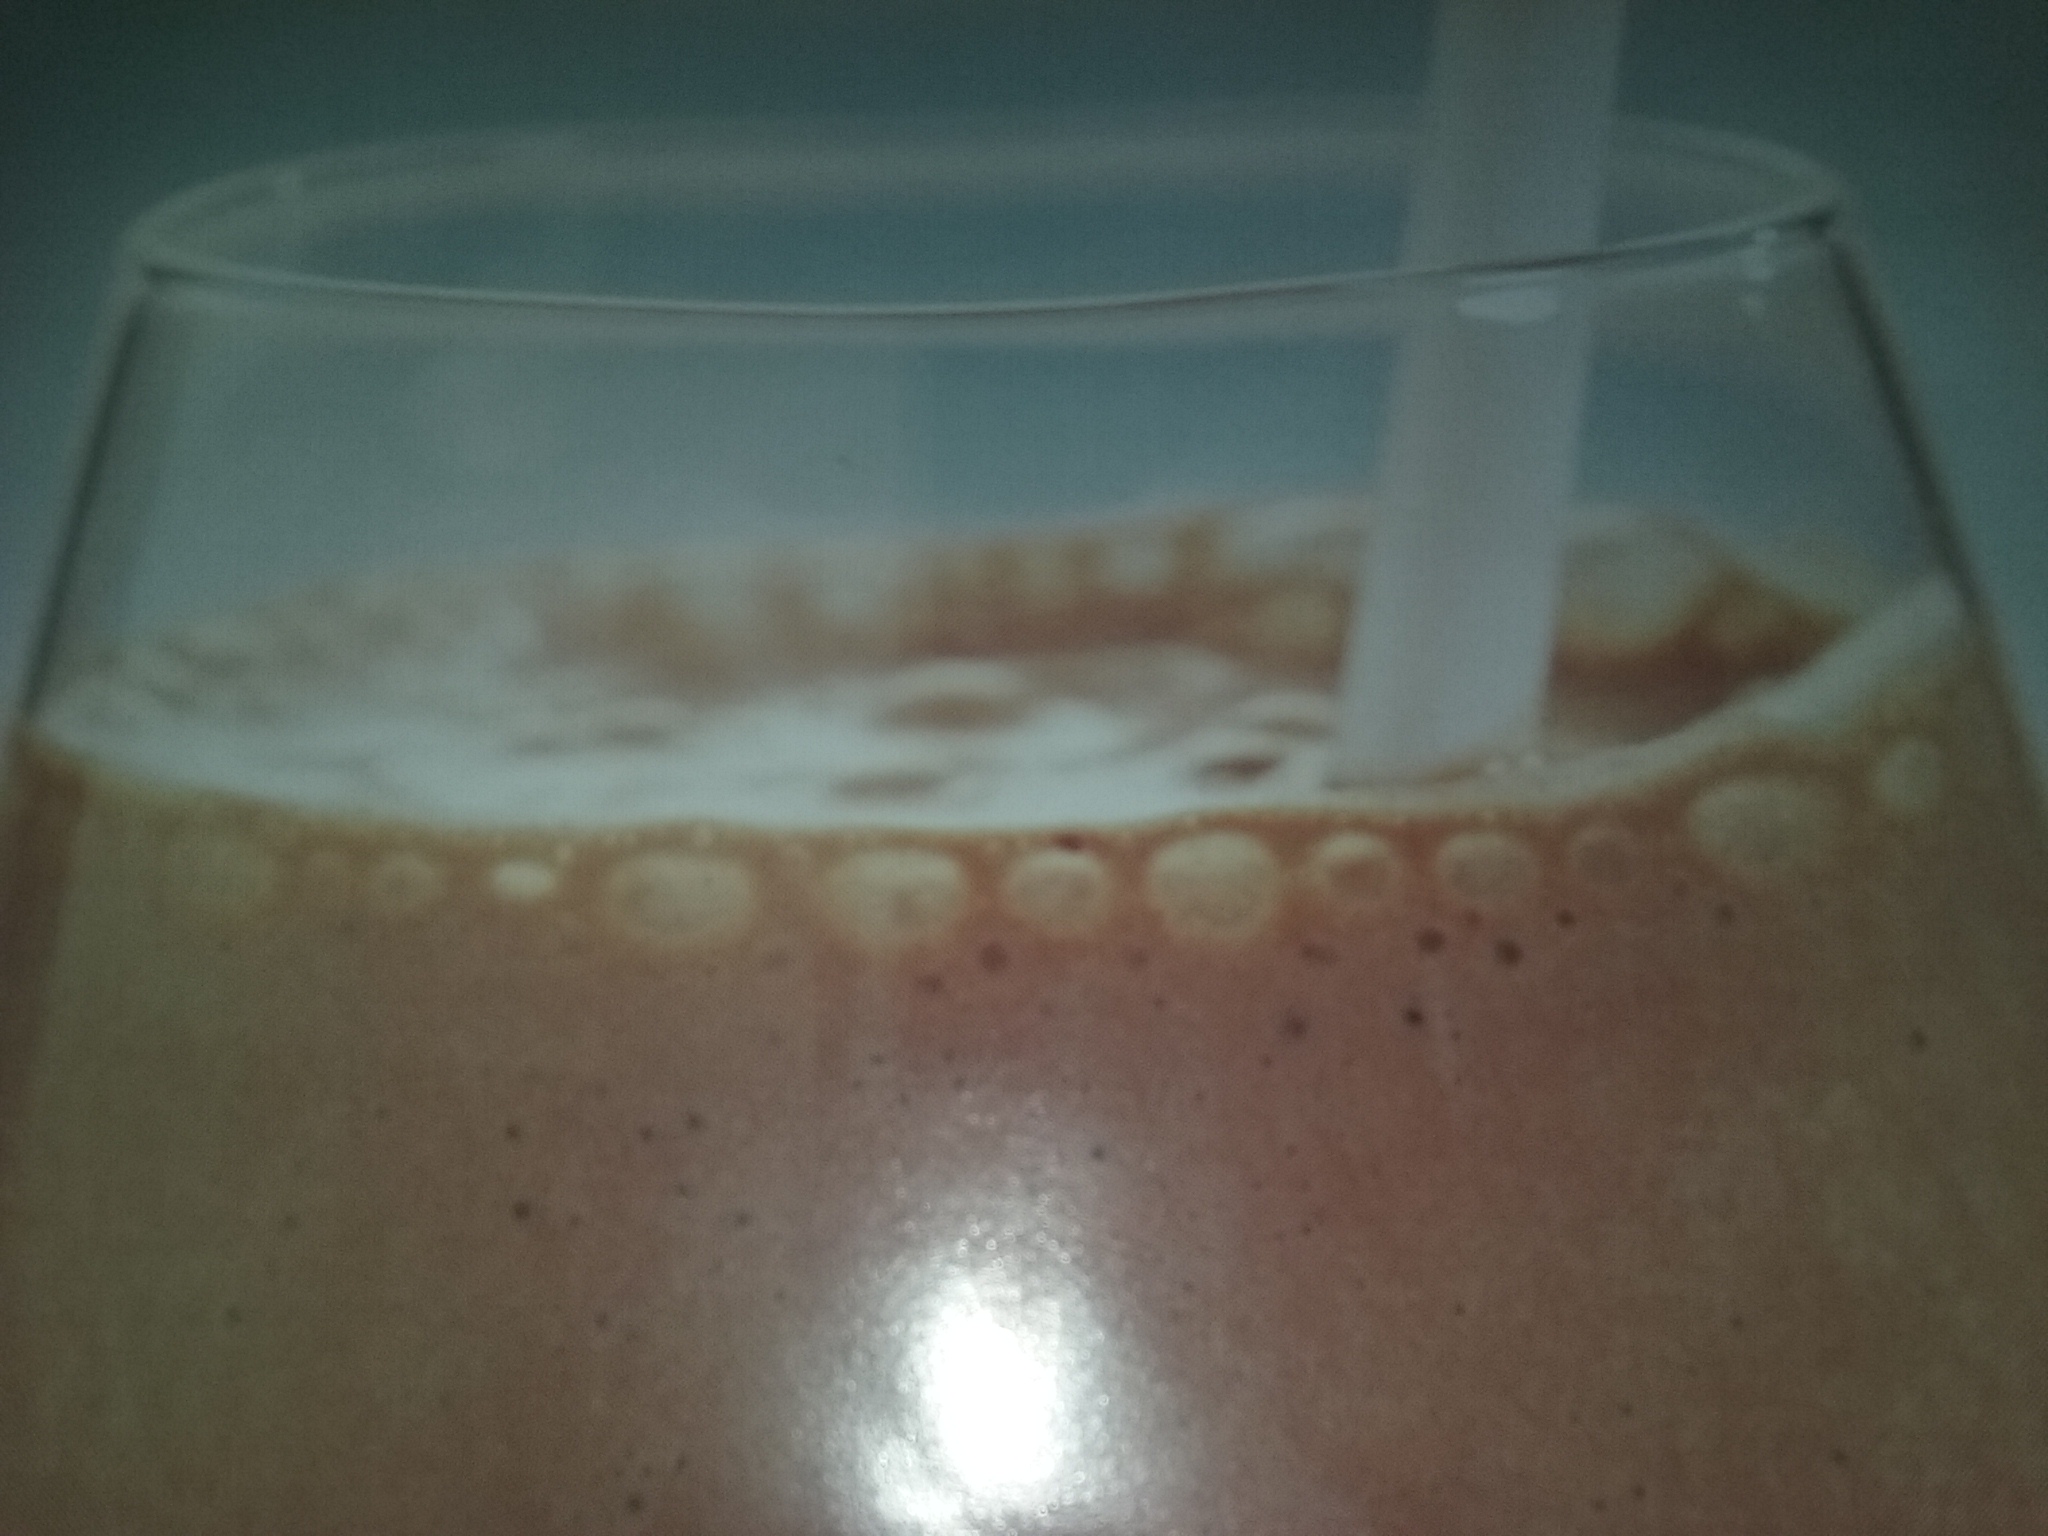
Summer for me, usually means everything gets a mint overhaul if I can help it. (Same with the month or so between Thanksgiving and just after new years.) Chocolate and Mint is a timeless mix, (Although my brother in Georgia would deny that vehemently) and one that I have loved since I was a kid. This drink is perfect for the hot summer that the desert offers and the chocolate is an indulgence that I can’t pass up myself. The entire recipe can be made almost completely sugar free, save for what might be from milk and whipped cream, though whipped cream isn’t too bad if its regular. You can even find the candies used in the sugar free section of most big box stores or even your local pharmacy that carries a sugar free variety in their candy section. What’s even better, is this drink can take as little as five mins to make, depending on how you go about it and can be customized any number of ways, from the pudding to the candies used to flavor it, or any other means of flavoring it.

Ingredients:

  • 2 C milk
  • 1 C Whipped cream topping, not thawed
  • 1 pkg (4 servings size) chocolate flavored instant pudding and pie filling mix
  • 4 small chocolate flavored mint patties
  • Ice

Directions:

  1. POUR milk into 1-qt measuring cup, and add enough ice to measure 3 cups total then pour it all into the blender.
  2. Add the remaining ingredients; cover. Blend on high speed until smooth
  3. Pour into glasses and enjoy

Frozen Cappuccino Cheesecake Dessert

frozen cappuccino cheesecake

As I return from a longer than planned break in blogging, The heat of the desert is starting to kick up, and with it comes a time for cold drinks and frozen treats. This recipe is a nice way to scare off the heat for a little bit and can be enjoyed within 5 hours of making it, perfect for dessert, snacks or whenever you want. The coffee flavor may not be ideal for children, if this is the case, I’m sure chocolate milk mix would be a satisfying and tasty alternative to the instant coffee.

Ingredients:

  • 1 pkg (11.1 oz) of any no-bake cheesecake variety
  • 5 tbsp of butter or margarine, melted
  • 1/4 cup instant mocha/coffee mix divided
  • 2 tbsp sugar (or sweetener)
  • 1 1/2 C cold milk (Usually 2% or whole is better, It helps the cheesecake mix set up properly
  • 1 tub (8 oz) Thawed Whipped Topping

Instructions:

  1. Line a 9×5-in Loaf pan with foil, mix the crust mix from the cheesecake package with butter, 2 tbsp of instant coffee and sugar in a med bowl until the crumbs are evenly moistened.
  2. Press 1/2 cup onto the bottom of the pan, reserving the remaining mixture for later
  3. Beat the milk, filling mix and the remaining instant coffee in a medium bowl with an electric mixer on low speed until blended.
  4. Keep beating on medium speed for 3 mins (Filling will thicken)
  5. Stir in whipped topping
  6. Spoon in 1/3 of the mixture over the crust, and then sprinkle with 1/3 of the remaining crust mixture.
  7. Repeat layers twice, before covering tightly with additional foil
  8. Freeze at LEAST 4 hours or overnight.
  9. Unmold onto serving tray, let stand 10 mins before serving.

Store leftovers in the freezer

Prep time 20 mins, total: 4 hours 20 mins (Including freezing.)

Makes 12 servings

One-Pot Pepperoni Pizza Mac & Cheese

Two childhood favorites come together in this dish, Pizza and Mac & Cheese. This recipe uses the cheesy pasta favorite as the crust for the pizza toppings, making it more flavorful in the end. My partner in meals and I are more partial to eating more veggies with our pizzas, such as mushrooms, bell peppers and onions, so it can be assumed that’s what we’d do. And if you don’t particularly like meats, there’s always the vegetarian option of  course.


Prep Time: 5 mins   Cook time: 20 mins

Ingredients

  • 1 375g box of macaroni (or other short pasta) — 4-5 cups
  • 2 cups chicken broth
  • 2.5 cups milk
  • 1½ tsp salt
  • ½ tsp garlic powder
  • ½ tsp oregano
  • 3 cups cheese, divided
  • 1½ cups pizza sauce
  • 10-15 slices pepperoni

Other toppings can be added to suit the tastes of course, especially with how many different pizzas are out there now.

Rather than just using garlic powder, I tend to gravitate towards actual garlic (fresh or jarred minced.)

Directions

  1. Preheat oven to 400 degrees F.
  2. In an oven-safe dutch oven or pot, bring pasta, broth, milk, salt, garlic and oregano to a boil and reduce to a simmer over medium heat. Cook and stir for 10-12 minutes until al dente.
  3. Stir in 1½ cups cheese.
  4. Top with pizza sauce, remaining cheese and pepperoni and bake for 10 minutes until hot. Broil for 1-2 minutes until pepperoni starts to crisp up on the edges and cheese starts to brown.

This is where I would add that using a cast iron skillet would likely be best if you have the option as they are great for going from stove to oven and especially for getting the crunchy cheese edge that you’re likely looking forward to.

The original author also states that you can use just milk if you’re not up to using chicken broth at all, but they find that the broth keeps the sauce nice and smooth and not too thick. Though that’s all up to interpretation and taste of course.